


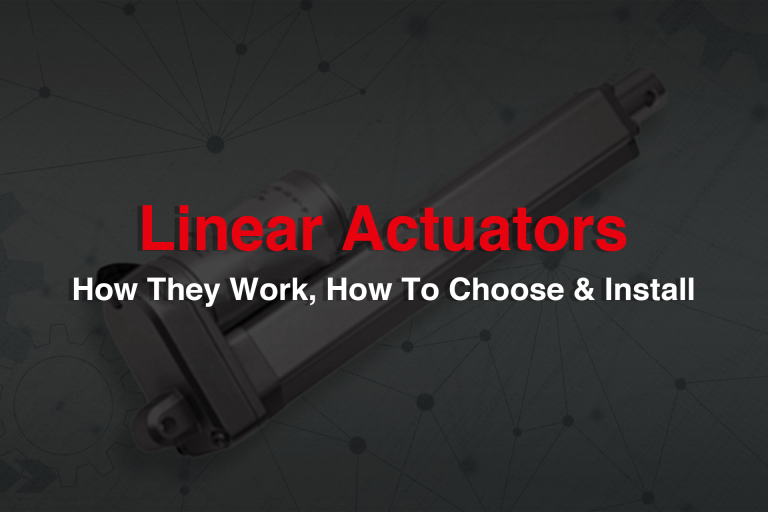
What is a Linear Actuator?
A linear actuator is a device that converts electrical energy into mechanical motion. It consists of a motor, a lead screw, and a nut. The motor turns the lead screw, which in turn moves the nut along the length of the actuator.
How Does a Linear Actuator Work?
The motor in a linear actuator is typically a DC motor. DC motors are very efficient and can provide a high torque output. This makes them ideal for applications that require a lot of force, such as lifting and positioning heavy objects.
The lead screw in a linear actuator is a threaded rod. The nut in the actuator is threaded to match the lead screw. When the motor turns the lead screw, the nut moves along the length of the actuator. This causes the load that is attached to the nut to move as well.
Different Types of Linear Actuators
There are two main types of linear actuators: electric linear actuators and pneumatic linear actuators.
Electric linear actuators are the most common type of linear actuator. They are powered by electricity and are relatively easy to install and operate.
Pneumatic linear actuators are powered by compressed air. They are more powerful than electric linear actuators, but they are also more complex and expensive.
Choosing The Right Mounting Method for Your Linear Actuator
The best way to choose the right mounting method for your linear actuator is to consider the specific needs of your application. Factors to consider include the actuator’s load capacity, stroke length, and range of motion. You should also consider the environment in which the actuator will be operating, as well as the budget and resources available to you.
Clevis Mounting
Clevis mounting is the most common mounting method for linear actuators. This method allows the actuator to pivot on both sides, which is useful for applications where the actuator needs to be able to move freely. Clevis mounting is also relatively simple and inexpensive to implement.
Stationary Mounting
Stationary mounting is another common mounting method for linear actuators. This method fixes the actuator in place, which is useful for applications where the actuator needs to provide a precise and stable force. Stationary mounting is also relatively simple to implement, but it does not allow the actuator to pivot.
Trunnion Mounting
Trunnion mounting is a less common mounting method for linear actuators. This method allows the actuator to rotate about a fixed point, which is useful for applications where the actuator needs to move in a circular or elliptical path.
Trunnion mounting is more complex and expensive to implement than clevis or stationary mounting, but it offers greater flexibility in terms of actuator movement.
Flange mounting
This method uses flanges to attach the actuator to a mounting surface. Flange mounting is strong and durable, but it can be more complex and expensive to implement than other mounting methods.
Foot mounting
This method uses feet to attach the actuator to a mounting surface. Foot mounting is simple and inexpensive to implement, but it is not as strong or durable as flange mounting.
Rod-end mounting
This method uses rod ends to attach the actuator to a mounting surface. Rod end mounting is simple and inexpensive to implement, and it allows the actuator to pivot on both sides.
Direct mounting
This method involves directly attaching the actuator to a mounting surface without using any mounting brackets. Direct mounting is strong and durable, but it can be more difficult to implement than other mounting methods.
How to Choose the Right Linear Actuator
When choosing a linear actuator for your application, there are a few key factors to consider.
Stroke length: The stroke length is the distance that the actuator can travel. Choose an actuator with a stroke length that is slightly greater than the distance that your load needs to travel.
Force rating: The force rating is the maximum amount of force that the actuator can exert. Choose an actuator with a force rating that is greater than the weight of your load.
Speed: The speed is the rate at which the actuator can move. Choose an actuator with a speed that is appropriate for your application.
Duty cycle: The duty cycle is the percentage of time that the actuator can be operated at its full force rating. Choose an actuator with a duty cycle that is greater than the amount of time that you will be using it at full force.
Installing a Linear Actuator: A Step-By-Step Guide
- Choose the right linear actuator. Consider the load capacity, stroke length, and speed requirements of your application.
- Gather the necessary tools and materials. You will need a drill, screwdriver, wrench, wire cutters, and electrical tape.
- Mount the linear actuator. Use the mounting brackets provided with the actuator to mount it to a secure surface.
- Attach the load. Connect the load to the end of the actuator’s shaft.
- Wire the actuator. Follow the instructions provided with the actuator to wire it to a power source and controller.
- Test the actuator. Once the actuator is wired, test it to make sure it is working properly.
Additional Tips on Installing a Linear Actuator
- Make sure the mounting surface is level and secure.
- Use the correct size fasteners to mount the actuator.
- Do not overtighten the mounting bolts.
- Make sure the load is properly attached to the actuator’s shaft.
- Use a strain relief to protect the electrical wires.
- Follow the instructions provided by the actuator carefully.

