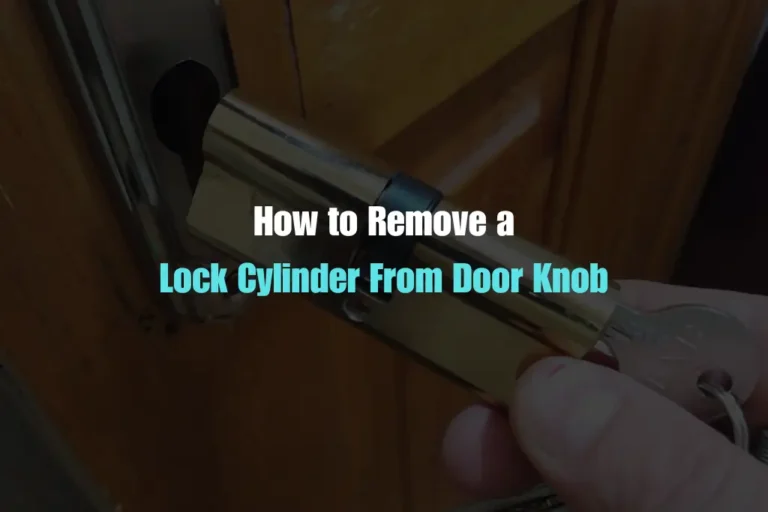
Lock cylinders are essential components in many automated systems, providing safety and precision. Whether you need to replace a worn-out cylinder or upgrade your system, knowing how to remove lock cylinder from door knob is crucial. This guide will help you to use simple, easy-to-follow steps to remove a lock cylinder from door knob.
What is a Door Lock Cylinder?
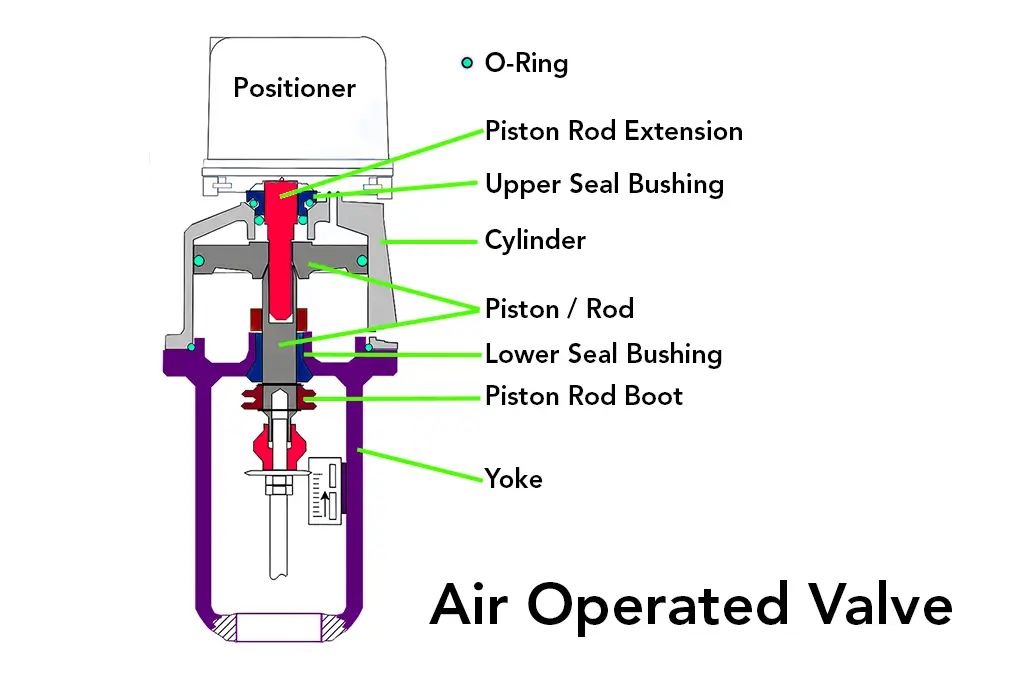
The cylinder is the part of the lock where you insert your key. It’s the heart of the lock, and without it, the lock won’t work. When you turn the key, the cylinder rotates and moves the locking mechanism inside the door.
Why You Need To Remove Lock Cylinder from Door Knob?
There are several reasons you might need to remove lock cylinder from door knob:
- Lost Keys: If you lose your keys, replacing the cylinder can restore security.
- Upgrading Security: Installing a new, more secure lock can improve safety.
- Worn-Out Lock: Over time, locks wear out. A new cylinder can make your lock work like new.
Tools You’ll Need To Remove Lock Cylinder from Door Knob
Gather these tools before you start removing lock cylinder from door knob:
- Screwdriver (Flathead and Phillips)
- Needle Nose Pliers
- Allen Wrench Set
- Lubricant Spray (like WD-40)
- Small Hammer (optional)
- Paperclip or Pin (optional)
Step-by-step guide: how to remove lock cylinder from door knob
Step 1: Identify Your Lock Type
There are different types of door lock cylinders. Identify your specific model to understand its features and locking mechanisms. This will help you follow the correct removal steps. Knowing your lock type helps you understand the steps better.
Step 2: Remove the Door Handle or Knob
For most locks, you need to remove the handle or knob first. Here’s how:
- Find the Screws: Look for screws on the door handle or knob. They might be hidden under a cover plate. Use a flathead screwdriver to gently pry off any cover plate if needed.
- Unscrew the Handle/Knob: Use the appropriate screwdriver to remove the screws. Keep the screws in a safe place; you’ll need them to reassemble the lock later.
- Pull Off the Handle/Knob: Once the screws are out, you can pull off the handle or knob. Some handles might need you to twist or wiggle them a bit.
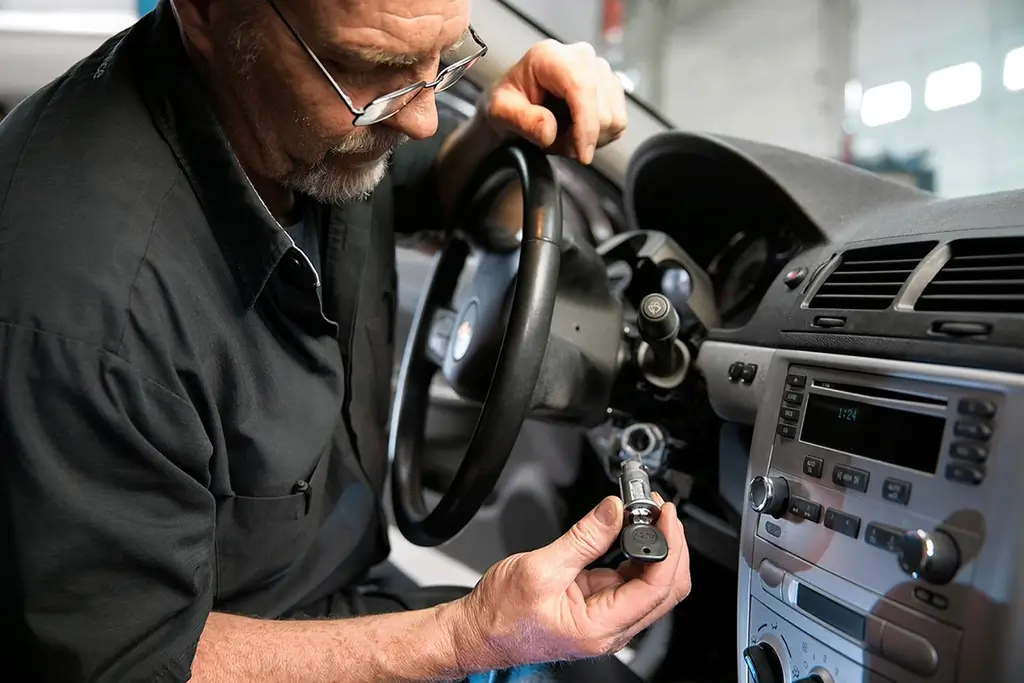
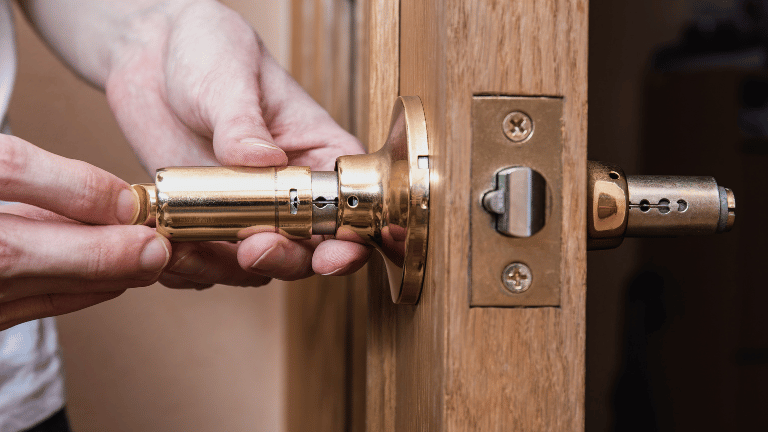
Step 3: Remove the Lock Cylinder
After removing the handle or knob, you’ll see the lock cylinder. It’s usually held in place by a retaining screw. Use your screwdriver to remove the screw holding the cylinder in place.
Gently pull the cylinder out. If it’s stuck, use needle-nose pliers to wiggle it free. Be careful not to force it too hard to avoid damaging the door.
Step 4: Dealing with a Stuck Cylinder
Sometimes, the cylinder won’t come out easily. Here are some tips to help:
- Use Lubricant: Spray some lubricant around the cylinder to loosen it.
- Tap Gently: Use a small hammer to tap around the cylinder gently. This can help loosen it.
- Paperclip Trick: Straighten a paperclip and insert it into the small hole on the side of the cylinder (if there is one). This can release a catch inside, making it easier to remove the cylinder.
Safety First
Always prioritize safety when working with locks and doors:
- If possible, work during the day when you have plenty of light.
- If you need to leave the door unattended, make sure it’s locked.
- If you’re unsure or run into trouble, it’s okay to call a locksmith. They have the expertise and tools to handle tricky situations.
Conclusion
Removing a door lock cylinder might seem daunting, but with the right tools and instructions, it’s a manageable task. Whether you’re dealing with a lost key or upgrading your home’s security, knowing how to handle your door locks can save time and money. Remember to take your time, stay organized, and prioritize safety.