how to fix a stuck solenoid valve

How to Fix a Stuck Solenoid Valve (Simple Guide)

Solenoids are simple parts in machines that open and close. But when they malfunction, they can cause big problems. Here’s the complete guide on how to fix a stuck solenoid valve.


It’s often hard to tell why a solenoid isn’t working because they are small and simple.  A repair person needs to find the cause of the problem.


Common Problems of Stuck Solenoid Valve


Problem 1 – Stuck Open or Closed Valve

 
A Solenoid is often stuck when it loses power or cannot channel enough electricity to the coil. Additionally, coil burnout or failure can also cause the valve to be stuck open or closed.
 
Sometimes, when the circuitry faces a power interruption, the valve can get stuck and stay that way when you restore the power.
 

Problem 2 – Valve Opens Without Prompts

 
This is a complex issue and depends on other parts of the system. For example, electrical surges in the circuit, or hydraulic pressure brought on against the valve can cause the valve to open randomly without prompting. 
 
A technician needs to run a series of tests to find out what’s causing the valve to open, and then fix it accordingly.
 

Problem 3 – Valve Won’t Close

 
When a valve doesn’t close properly, start from closely scrutinizing the Solenoid itself. Keep an eye out for any debris or some kind of foreign object stuck inside the stem, causing the valve to function faultily. 
 
In case there isn’t any debris, look for a possible power disruption issue. Make sure the solenoid circuit has adequate power, and in case it lacks power, try restoring and resetting the Solenoid. 
 
If still the problem persists, check the valve’s alignment. Misalignment often prevents the valve from closing properly. 
 
Make sure you inspect the stem and seat for any visible signs of damage -indicating a forced opening. 
 
By following these steps, you should be able to identify and fix the problem with your solenoid valve.  If you’re unsure or the problem persists, consult a qualified technician for help.
Troubleshooting Stuck Solenoid Valve

How to Fix a Stuck Solenoid Valve (Step-By-Step Guide)


Having trouble with your sprinklers? It might be a faulty solenoid valve. Here’s a simple guide on how to fix a stuck solenoid valve. If you’re not comfortable with any of these steps, call a qualified technician.


Electrical Issues


Check the Fuse: Locate the fuse box on your irrigation controller. Consult the manual to identify the correct fuse for the solenoid valves.


Replace the Fuse: If the fuse is blown, replace it with a fuse of the same amperage rating. Never use a higher amperage fuse. Blown fuses can happen if the valves were wired incorrectly in the past.


Wiring Check

 
Turn Off Power: Before touching any wires, make sure the power to your irrigation controller is completely off.
 
Match the Wires: Each solenoid valve should have two wires connected to the coil. Follow these wires back to the irrigation controller.
 
Common Terminal: One wire should be connected to the “common” terminal on the controller. This terminal is usually labeled clearly in the manual or on the controller itself.
 
Station Terminal: The other wire should be connected to the specific “station” terminal on the controller that corresponds to the valve you’re checking. For example, if the valve controls Zone 3, the wire should be connected to the “Station 3” terminal.
 
Secure Connections: Make sure all the wire connections are tight and secure. Loose or corroded connections can also cause problems.
 

Valve Issues

 
Flow Control Stem. Locate the flow control stem on the solenoid valve. It’s usually a knob or screw-like adjustment on the valve body.
 
Open the Stem. Turn the flow control stem fully counter-clockwise to open it completely. This will allow for maximum water flow through the valve.
 
Wrong Direction?
 
Flow Arrow. Double-check the direction of the valve. There should be an arrow clearly marked on the valve body indicating the direction of water flow.
 
Match the Arrow. Make sure the arrow points in the same direction as the water flow in your system. If the valve is installed backwards, it won’t open properly.
 

Manual Switch Check

 
Locate the Switch: Some solenoid valves have a small manual switch near the coil. This switch allows you to open the valve manually for testing or flushing purposes.
 
Switch Position. In most cases, the manual switch should be in the “OFF” position. If the switch is in the “ON” position, the valve will stay open even when the controller isn’t sending a signal, allowing water to flow through it even if other valves are not activated.
 

Solenoid Coil Issues

 
Turn Off Power. Before working on the coil, make sure the power to your irrigation controller is completely off.
 
Unscrew the Coil. Carefully unscrew the coil from the valve body.
 
Check the O-ring. Look for a small rubber ring (o-ring) where the coil meets the valve body. This o-ring creates a watertight seal.
 
Replace the O-ring. If the o-ring is missing, damaged, or cracked, replace it with a new one of the same size.


Stuck Plunger

 
Unscrew the Coil (see Missing O-Ring above). Follow the steps above to remove the coil.
 
Locate the Plunger. Inside the coil, you should see a small metal rod called a plunger.
 
Test the Plunger. The plunger should move freely up and down when you press it gently with your finger. If it’s stuck, it won’t allow the valve to open properly.
 
Clean the Plunger. If the plunger is stuck, carefully remove it and clean it with clean water. Do not use any lubricant, as this can attract dirt and cause further problems.
 
Reassemble Carefully. Once cleaned, carefully reinsert the plunger back into the coil and screw the coil back onto the valve body.
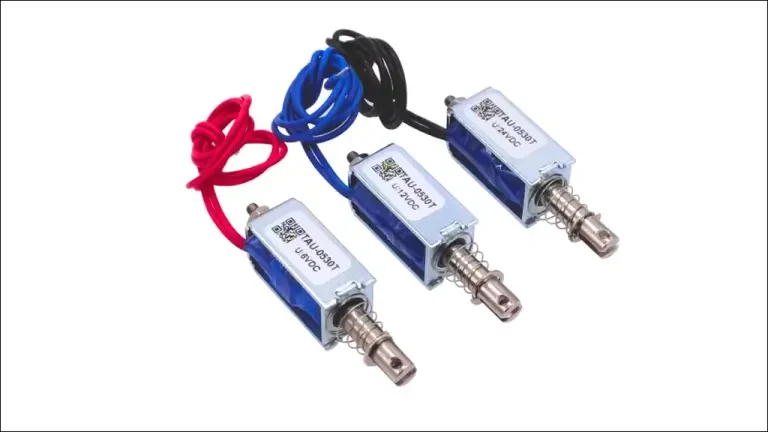
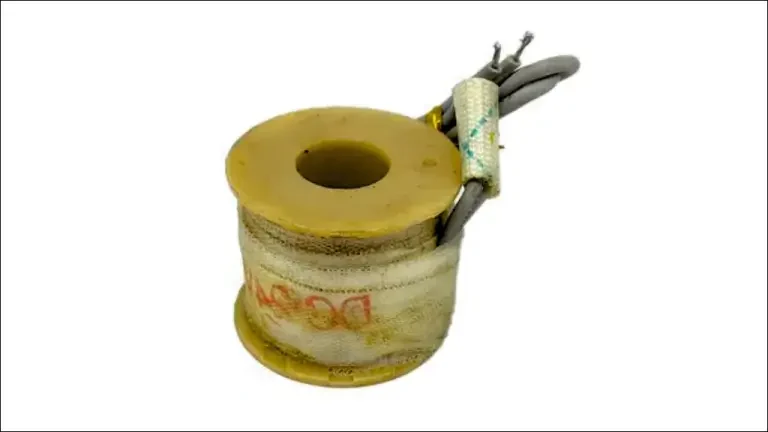
Burned Out Coil

Burned Out Coil

 
Swap the Coil (Optional): If none of the above solutions work, the coil itself might be damaged or burned out. You can try swapping the coil with a known working coil from another valve to test.
 
Be very careful when swapping coils, as you’ll be working with electrical wires. If you’re not comfortable doing this step, call a technician.
 

General Maintenance

 
Clean the Valve. Dirt or debris can build up inside the valve and prevent it from functioning properly.
 
Turn Off Power. Before working on the valve itself, make sure the power to your irrigation controller is completely off.
 
Locate the Valve. Identify the solenoid valve that you’re troubleshooting.
 
Shut Off Water Supply. Locate the shut-off valve for the zone controlled by the solenoid valve. Close this valve to stop water flow completely.
 
Remove the Valve (Optional). For easier cleaning, you can remove the solenoid valve from the piping. However, this might require some plumbing skills and tools. If you’re not comfortable doing this, you can try cleaning the valve while it’s still in place.
 
Clean the Inlet and Outlet. Use clean water to flush out any dirt or debris from the valve’s inlet and outlet screens or filters. Consult your valve’s manual for specific cleaning instructions. These screens or filters might be mesh screens, or even small plastic parts with filters built in.
 
Reassemble Carefully. If you removed the valve, carefully reassemble it following the instructions in your manual. Make sure all connections are secure to prevent leaks.
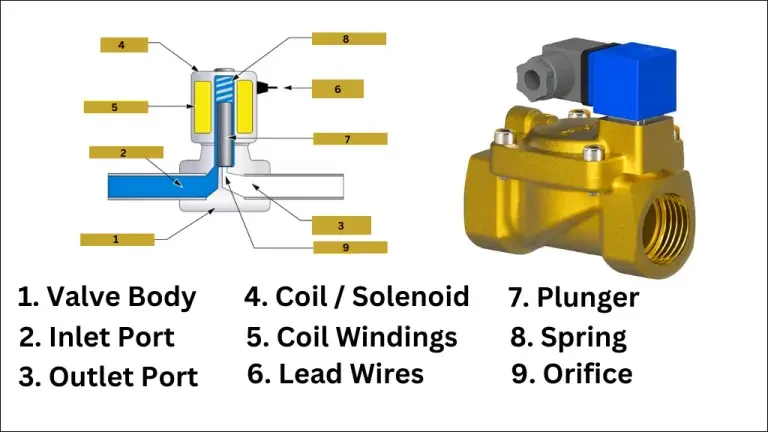
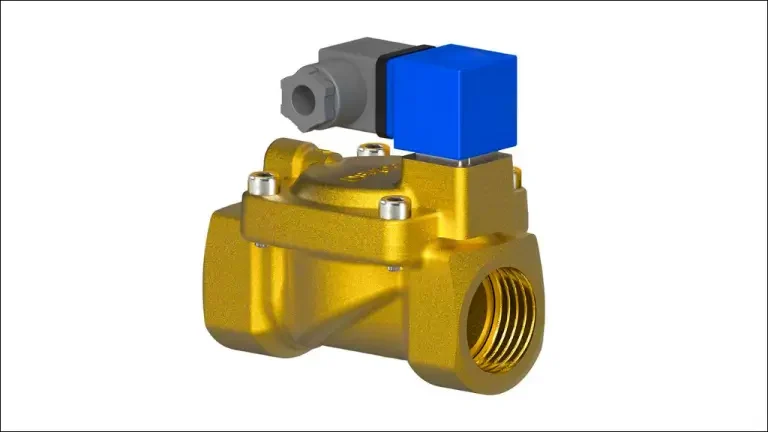
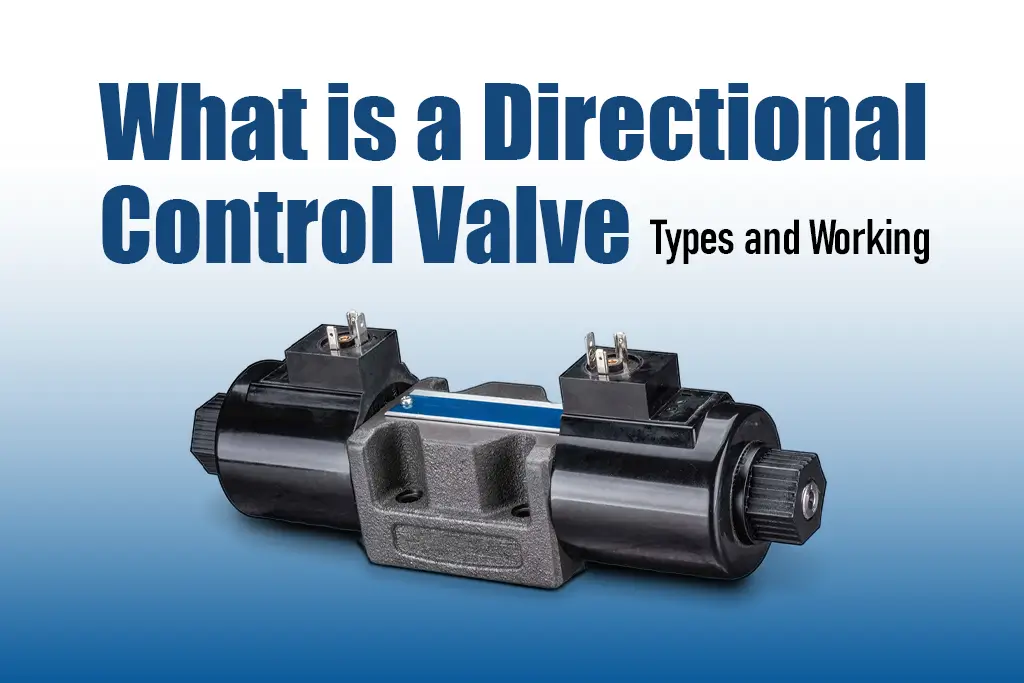
Solenoid Valve
Still Stuck?
 
Consult the Manual. Refer to your irrigation controller’s manual for specific troubleshooting steps related to your model. The manual might have additional diagnostic guides or fault codes that can help pinpoint the problem.
 
Inspect the System: Look for other potential issues in your system like – 
  • Cut/Damaged Wiring
  • Loose Wire Connections
  • Blown Transformer (consult a qualified technician for this)
 
Call a Technician
 
If you’ve tried all these steps and your solenoid valve is still not working properly, it’s best to call a qualified irrigation technician. They can diagnose the problem more thoroughly and recommend the best course of action, which might include replacing the solenoid valve itself.
 
Safety First!
 
Always remember to turn off the power to your irrigation controller before working on any electrical components.  If you’re not comfortable with any of these steps, or if you suspect electrical issues beyond simple wiring checks,  it’s always best to consult a qualified technician.
Special Considerations for Fixing a Stuck Solenoid Valve

Special Considerations for Fixing a Stuck Solenoid Valve

 
While the guide covers the common issues that cause solenoids to malfunction, there are additional factors to consider depending on the specific situation of fix a stuck solenoid valve.
 
Environment: Extreme temperatures, dust, moisture, or vibrations can all contribute to solenoid failure. Consider the environment where the solenoid operates when diagnosing the problem.
 
Age and Wear: Like any mechanical part, solenoids wear out over time. If a solenoid is old and has seen a lot of use, replacing it might be the best solution even if a specific cause for malfunction isn’t readily apparent.
 
System-Specific Issues: The guide provides general troubleshooting steps. However, some solenoid problems might be related to specific components or interactions within a particular machine. Consult the machine’s manual or a qualified technician if you suspect a more complex issue.
 
Safety Precautions: Always follow safety protocols when working with machinery. Turn off power and lockout/tagout equipment before attempting any repairs or troubleshooting.
 
By considering these additional factors, you can improve your chances of diagnosing and resolving solenoid malfunctions effectively. If the problem persists or you’re unsure how to fix a stuck solenoid valve,  it’s always best to consult a qualified repair technician.